Overview
Application Overview
The application starts with an intro page containing a brief description of its purpose.
website introduction

user dashbarod

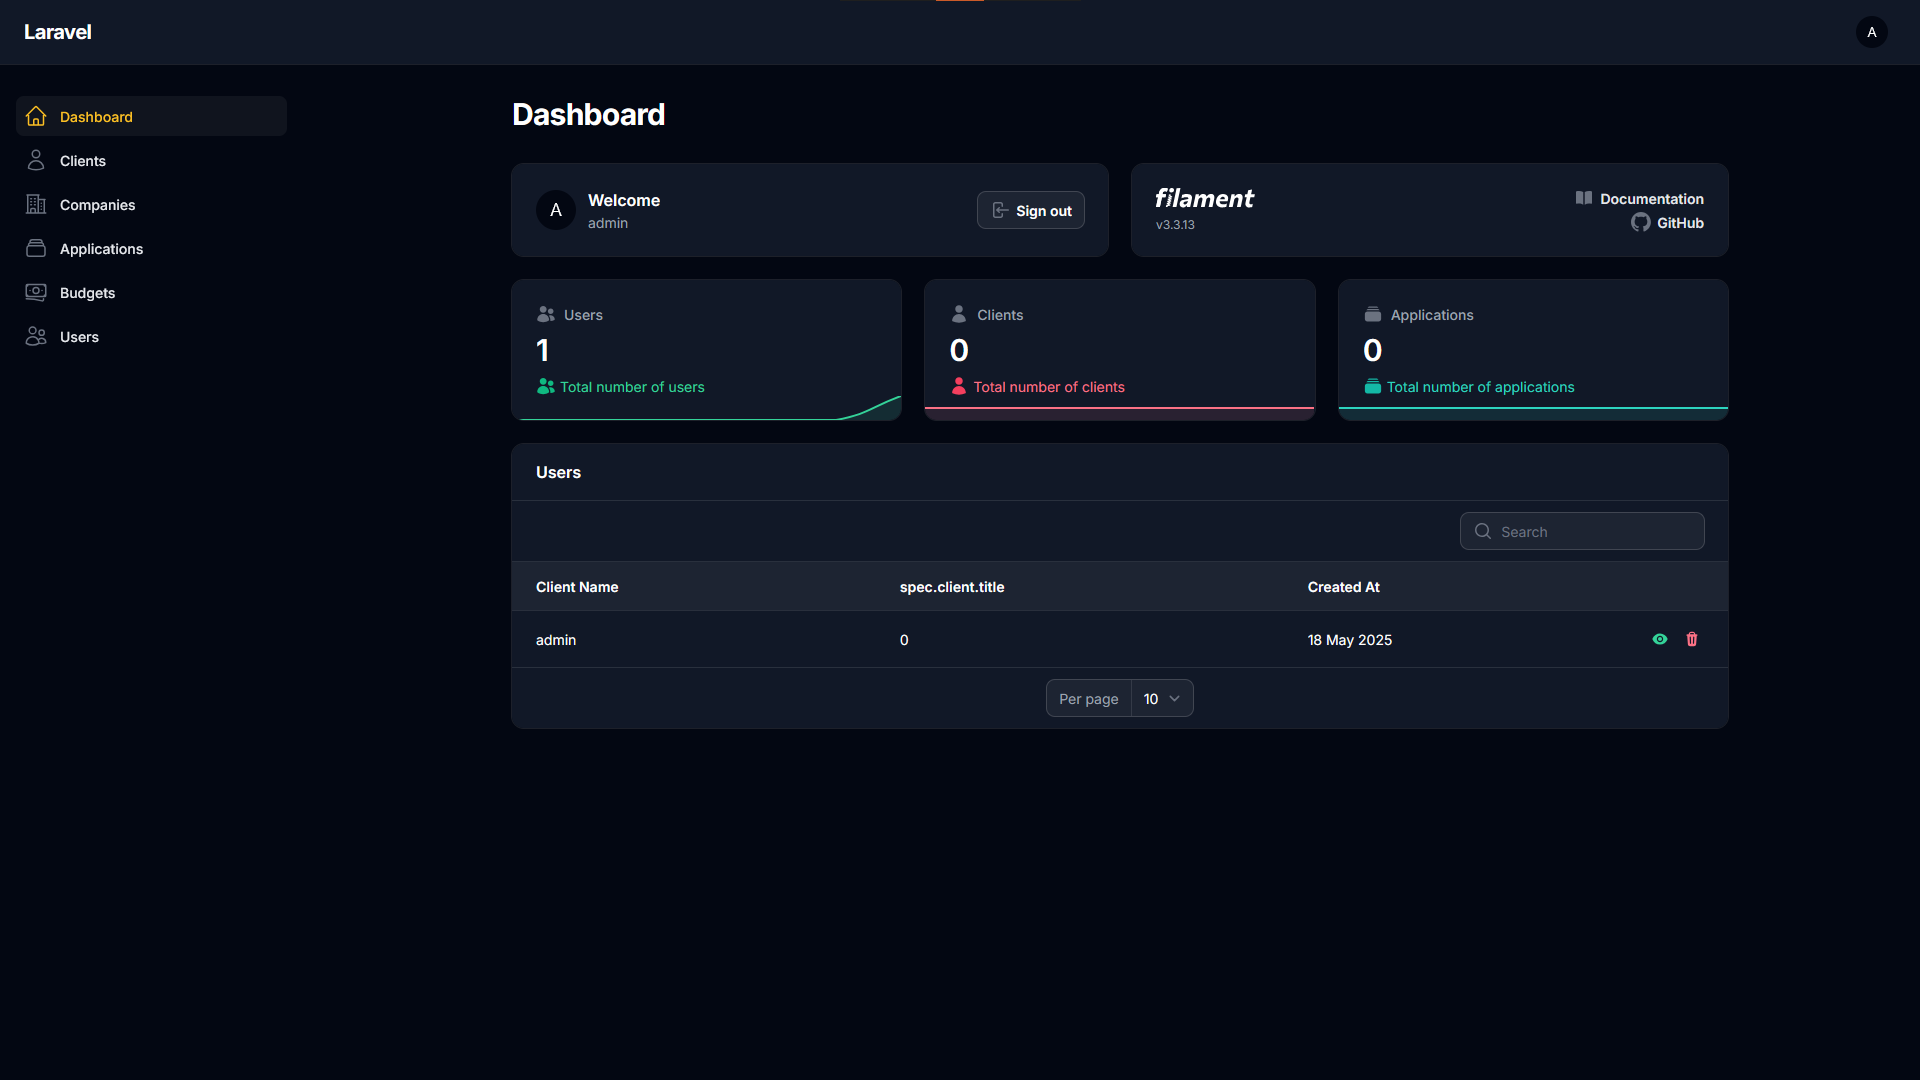
admin dashbarod
Main Pages
SpecBuilder includes the following primary pages:
- Intro – Overview and navigation start.
- Dashboard – Displays user specifications with action options.
- Service – Start specification creation.
- List – Shows all user-created specifications.
Authentication
- Only admins can create users and other admins.
- Authentication is required to access the application.
- Admins must be logged in to manage roles and access admin features.
Admin Side
Admin Dashboard
The dashboard provides a full overview of all data in the application.
Sidebar Menu
The left sidebar displays 5 resources, each linked to a CRUD-enabled table page. Example: the Users resource.
User Management
- View Users: Click the eye icon to view user details.
- Create User: Click the orange “+” button to open the user creation form.
- Fields:
- Name
- Password
- Role
- Fields:
- Update User: Click the edit icon in the user row.
- Delete User: Click the trash icon in the user row.
User Side
Login
Users must log in to access their dashboard and create specifications.
Intro Page
The intro page provides a navigation button to access the Services page.
Dashboard
Displays a table of all specifications created by the user, with options to:
- View
- Update
- Delete
Overview cards at the top show statistics such as the number of specifications.
Services Page
Contains the Application Specification form used to create a new specification.
Lists Page
Displays all specifications created by the logged-in user. Users can:
- View
- Edit
- Delete
- Download
Specification Form
The form is designed as a stepper, guiding the user through multiple stages:
Steps:
- Client Step – Collects client-related information.
- Company Step – Information about the company.
- Service Step – Details about the required service.
- Budget Step – Budget and financial details.
Conclusion
Now that you’re familiar with all the features and workflow of SpecBuilder, you're ready to start creating your own specifications with ease!